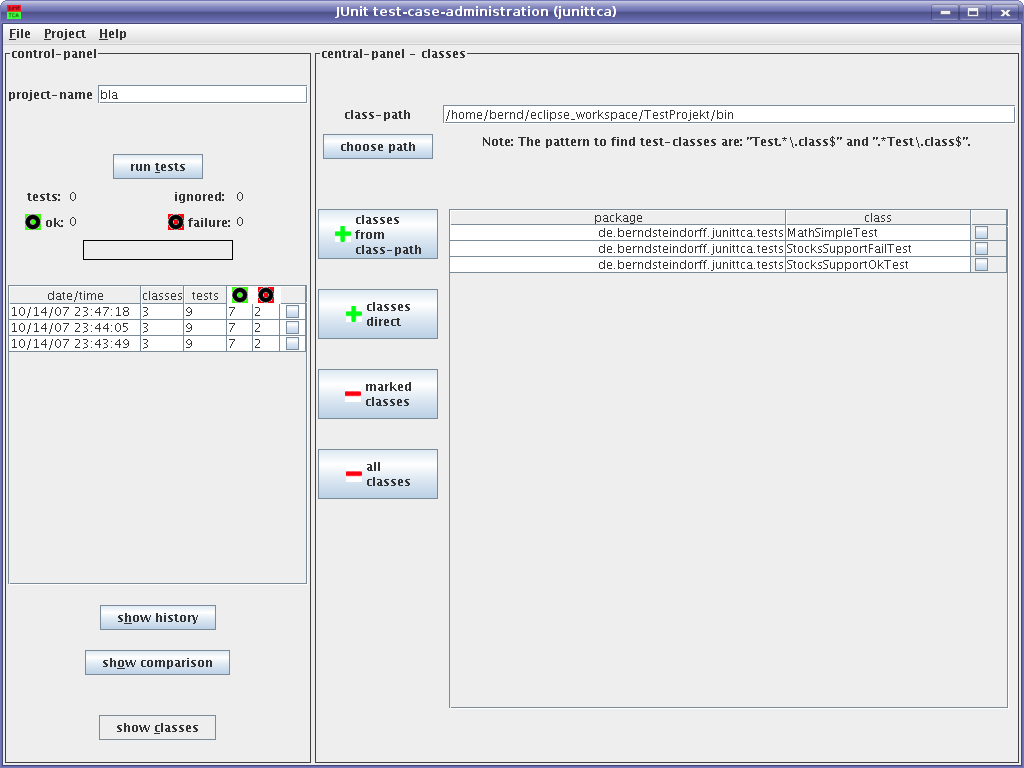
The JUnit test-case-administration (junittca) summarizes test-classes, runs the tests and saves the result for a detailed view.
Don't be irritated about the graphics with german labels, they will removed with version 0.8.2.
This is the documentation for the JUnit test-case-administration in version 0.8.1. For more general informations look on the homepage of junittca .
The basic GUI (graphical user interface) works with the Java Standard Edition and uses the Swing library.
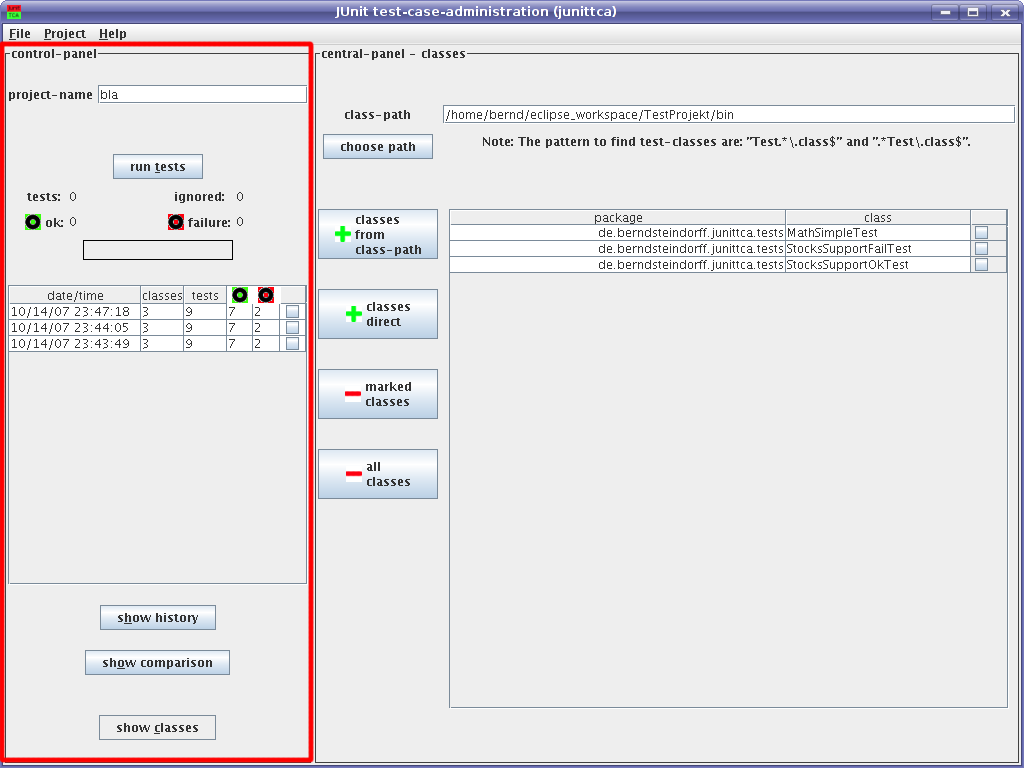
The control-panel will be shown for the complete runtime. There is a field for the project-name and a table with the saved test-runs situated. It offers four buttons: run tests, show test-classes, show history (of a run) and show comparison (of two runs).
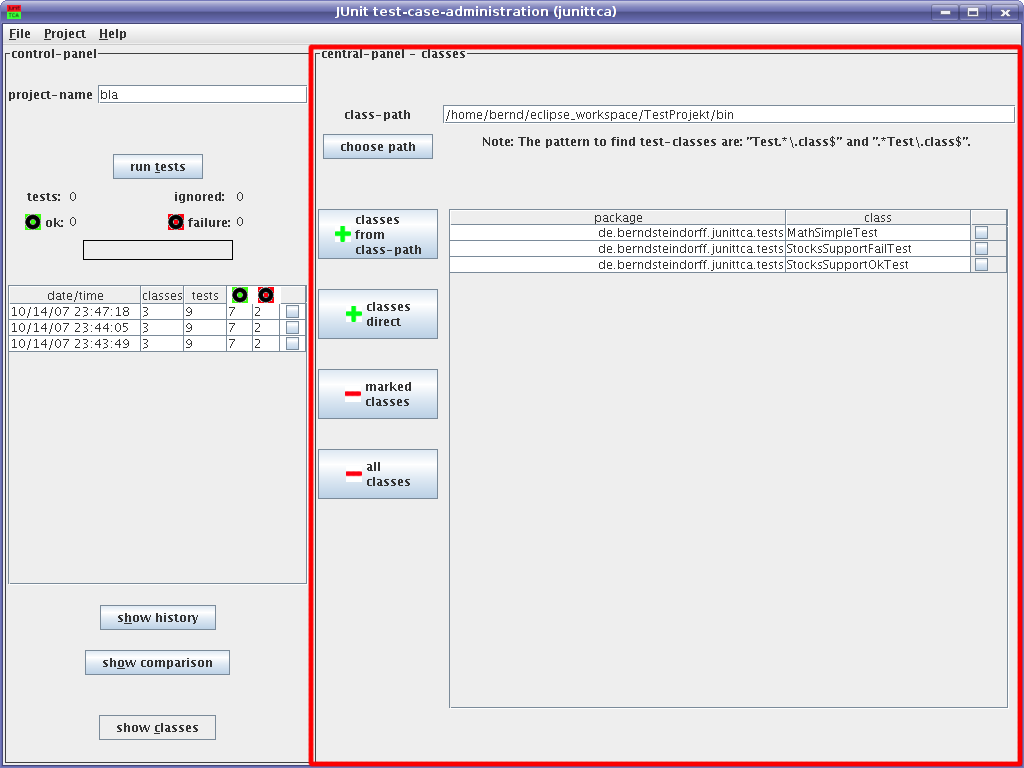
The graphic below shows the central-panel (red border) with the class-view.
The user has some possible actions in the test-case-administration:
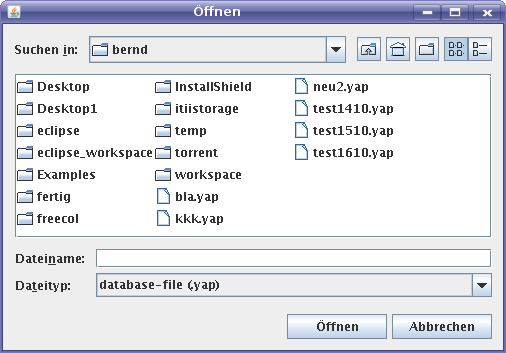
If you start the program you have to select a database-file (extension .yap) or give in a new name for the database-file. Then you have to choose a project or start a new one by entering a file-name.
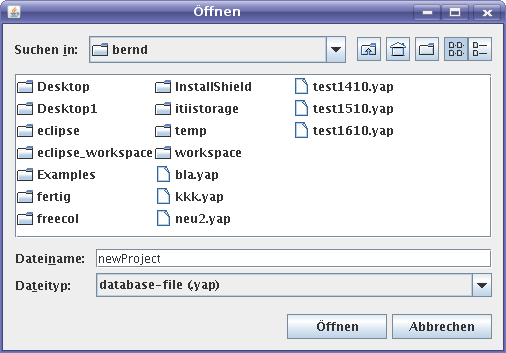
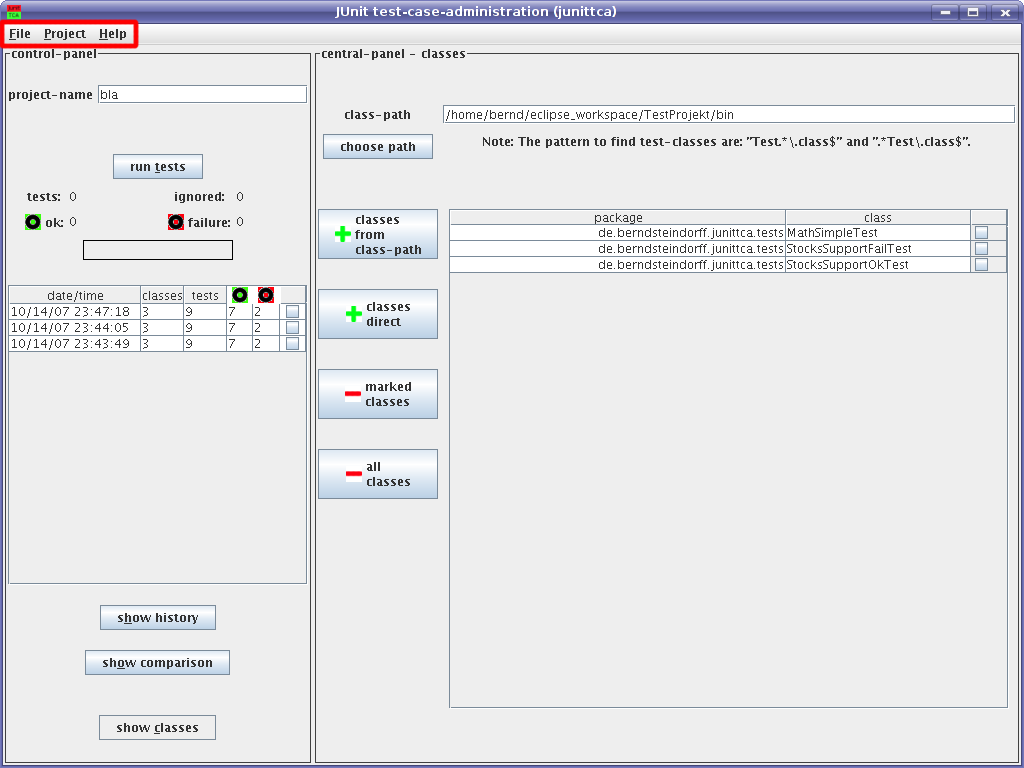
To open a project-file go into the menue "File / New project-file". Then you have to enter a file-name.
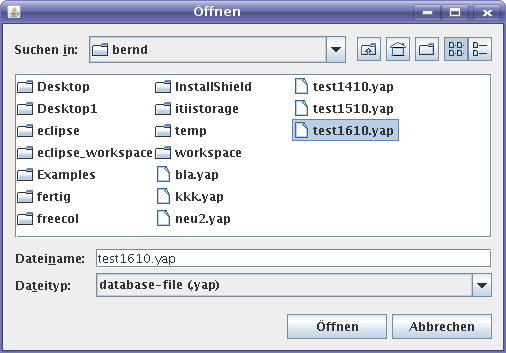
To open a project-file go into the menue "File / New project-file". Then you have to choose a project-file.
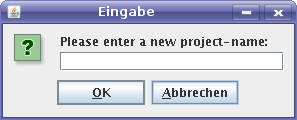
To create a new project go into the menue "Project / New" or press (ctrl + n) (or you create a new file / open a file with no project). Then you have to enter a project-name.
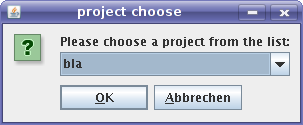
To open a project go into the menue "Project / Open" or press (ctrl + o) (if you are at the start you don't have to do this). Then choose a project from the list and press OK.
To save a project go into the menue "Project / Save" or press (ctrl + s). If it is successfull you will get a message, otherwise an exception-message.
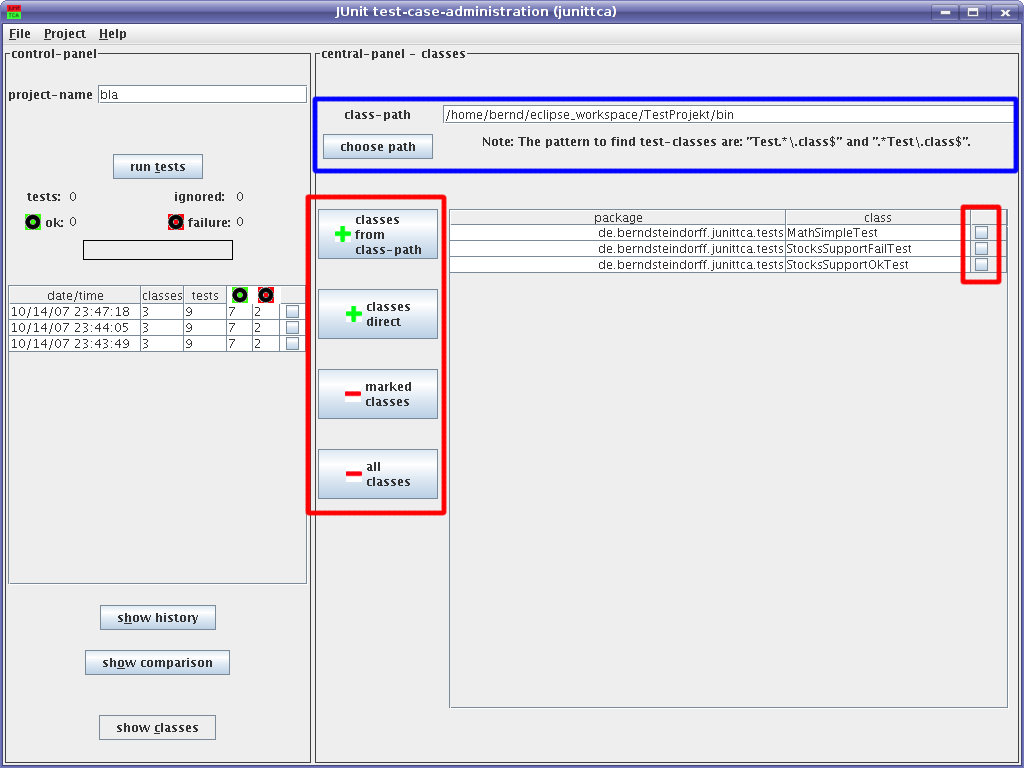
To add and remove test-classes you need to be in the view "central-panel classes". Before you start you have to define a class-path to fnd the test-classes (blue border). You can enter a class-path with the normal the normal seperator of your operating system. Also you can choose one with the button "choose path". The choosen path will append to the defined path.
To add all test-classes from the class-path just press "+ classes from class-path". Then all classes in the defined path will be add to the project. All classes will be checked if they contain JUnit4-tests. If you press "+ classes direct" you can choose one or more files. If they are in the class-path and contain JUnit4-tests they will be add to the project.
To remove test-classes you can press the button "- all classes". Then all classes will be removed from the project. Also you can check some classes in the table right and remove them by "- marked classes".
Actually there were two static pattern included to find test-classes: "Test.*\\.class$" and "Test.*\\.class$". In one of the next version you could define your own search-pattern.
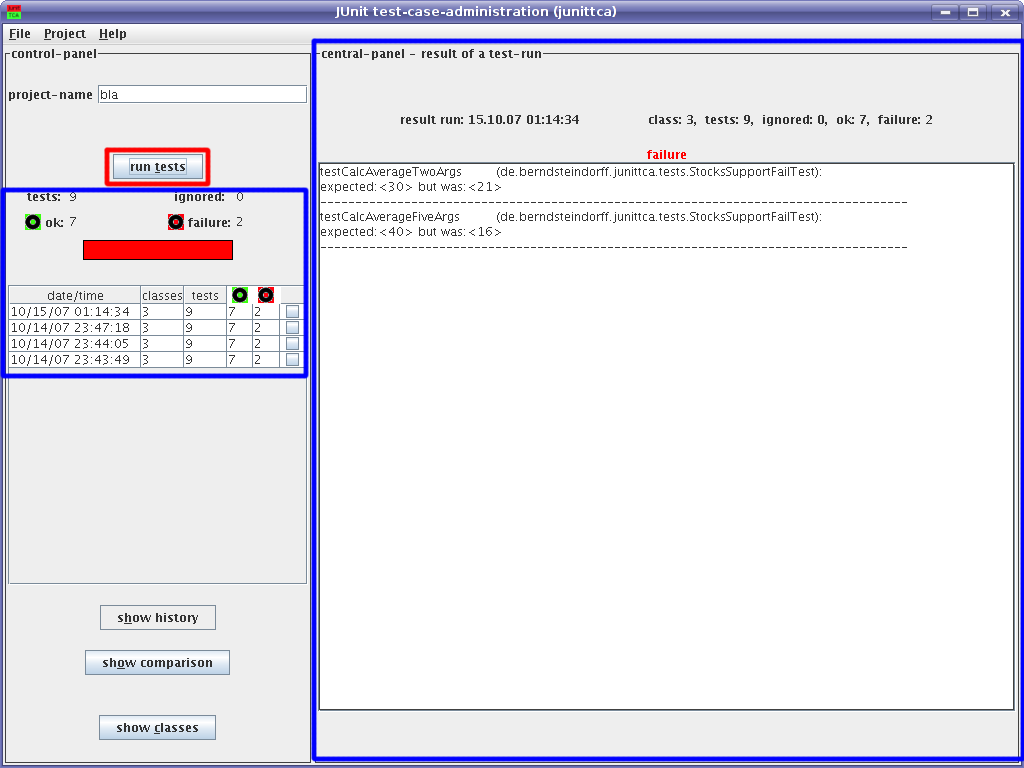
To run the test-classes press the button "run tests" (red border). An overwiew of the result will shown in the control-panel (blue border) on the left side. The detailed result is shown in the central-panel (blue border) on the rigt side.
There are three views for the central-panel. The control-panel will be shown always. The three views are:
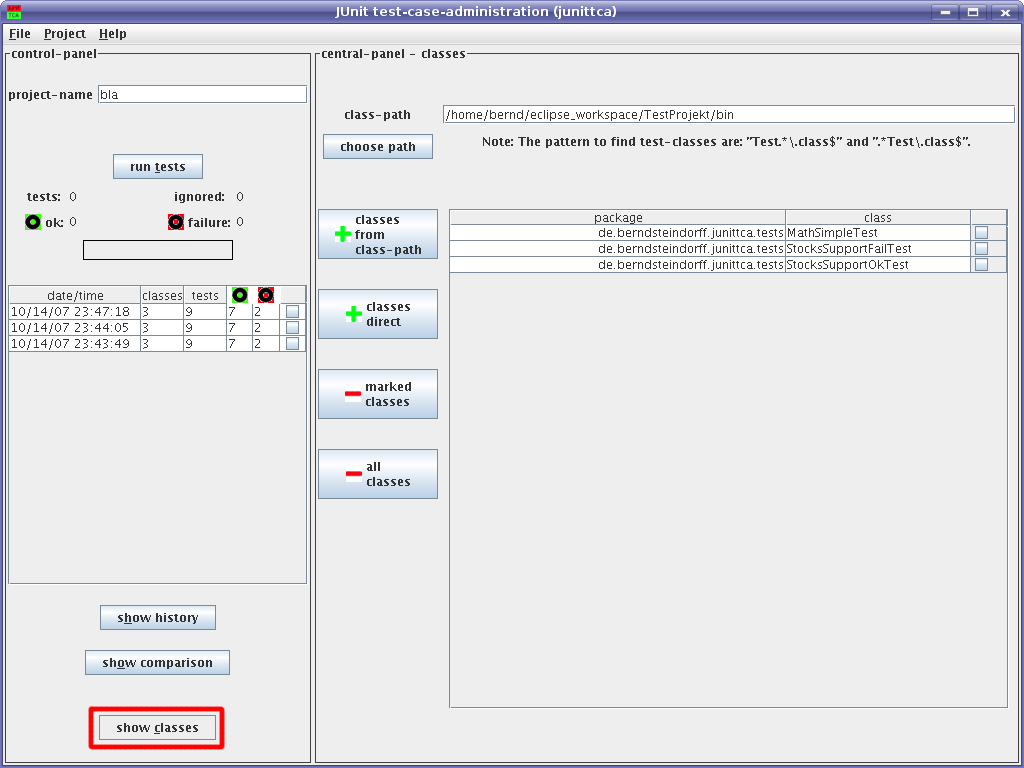
To see the test-classes (graphic upon) press the button "show classes" (red border).
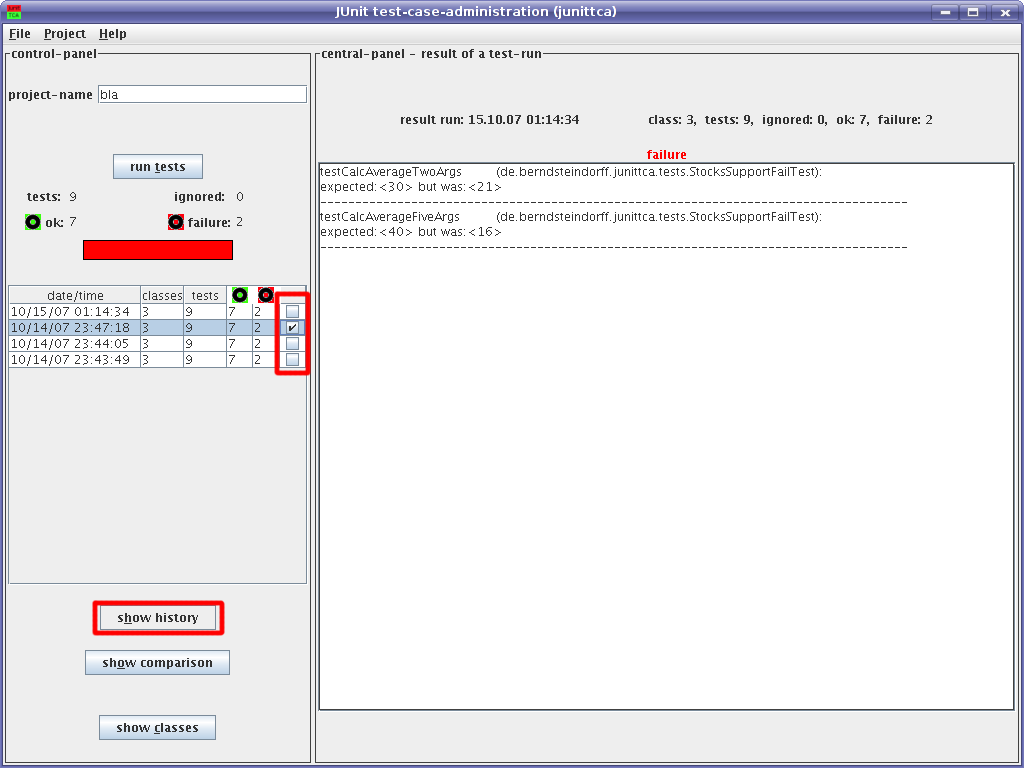
To see the history of a JUnit-result (graphic upon) check one result and press the button "show history" (both red border).
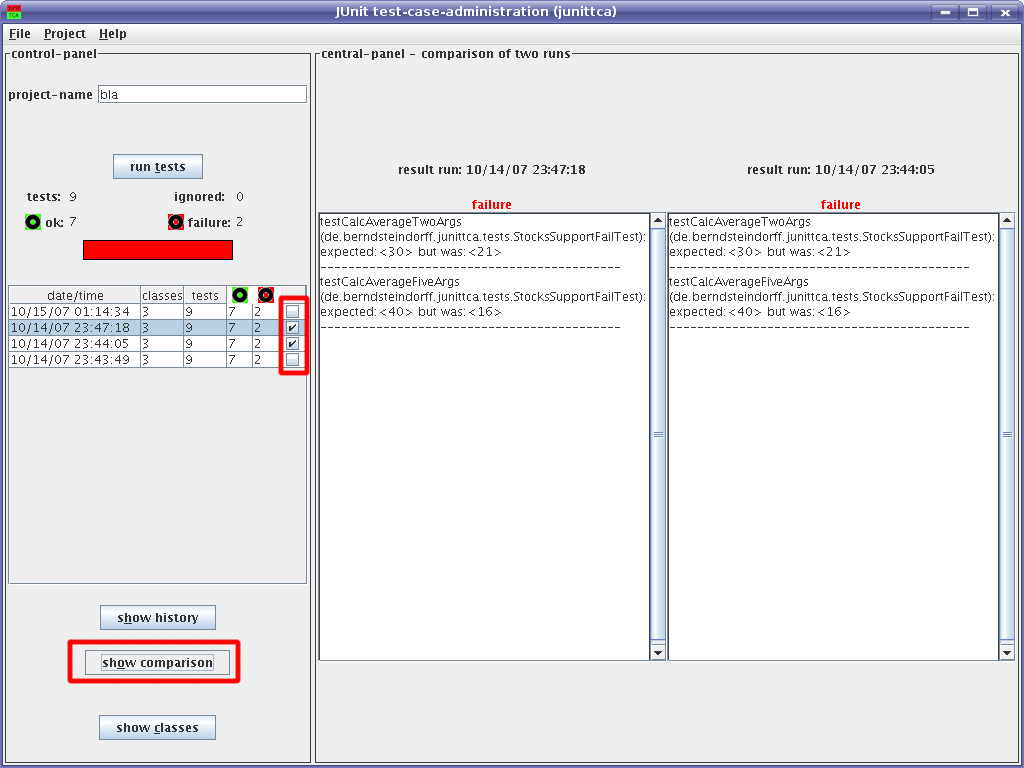
To see a comparison of two JUnit-results (graphic upon) check two results and press the button "show comparison" (both red border).